You can schedule sessions in the Venues tab in the following scenarios:
- They are in-person and will not be streamed online.
- You have the mobile app. All sessions must be assigned to a venue to sync to the mobile app.
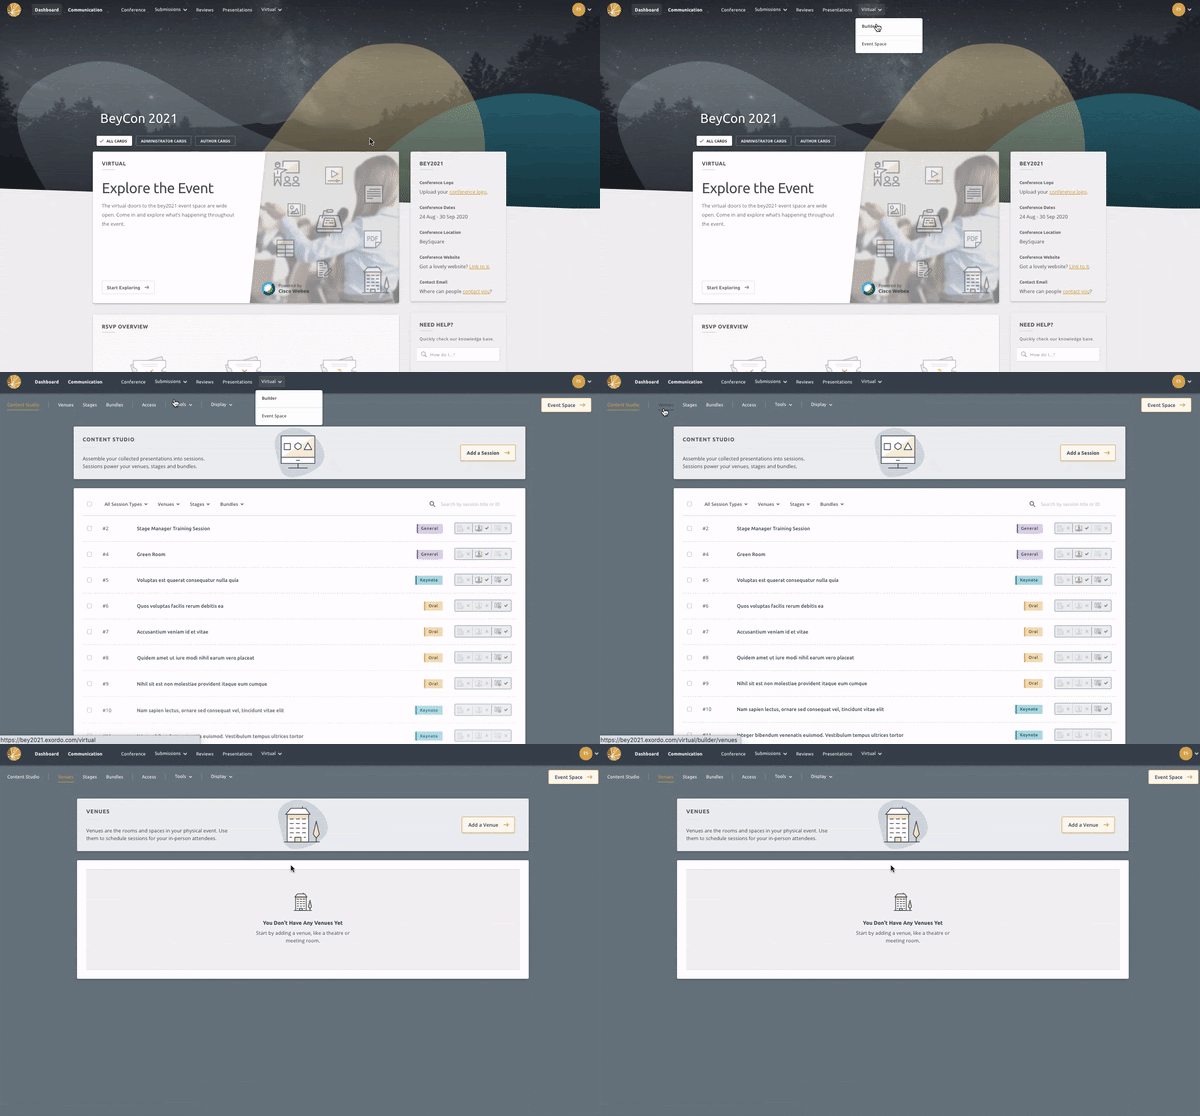
Step 1: Navigate to the Venues Page
In the Virtual Builder, click on “Venues” as in the image below. Here you will see a list of all the Venues you previously created. For more information on creating venues, see this article: How to create a Venue

Step 2: Schedule the Session to a Venue
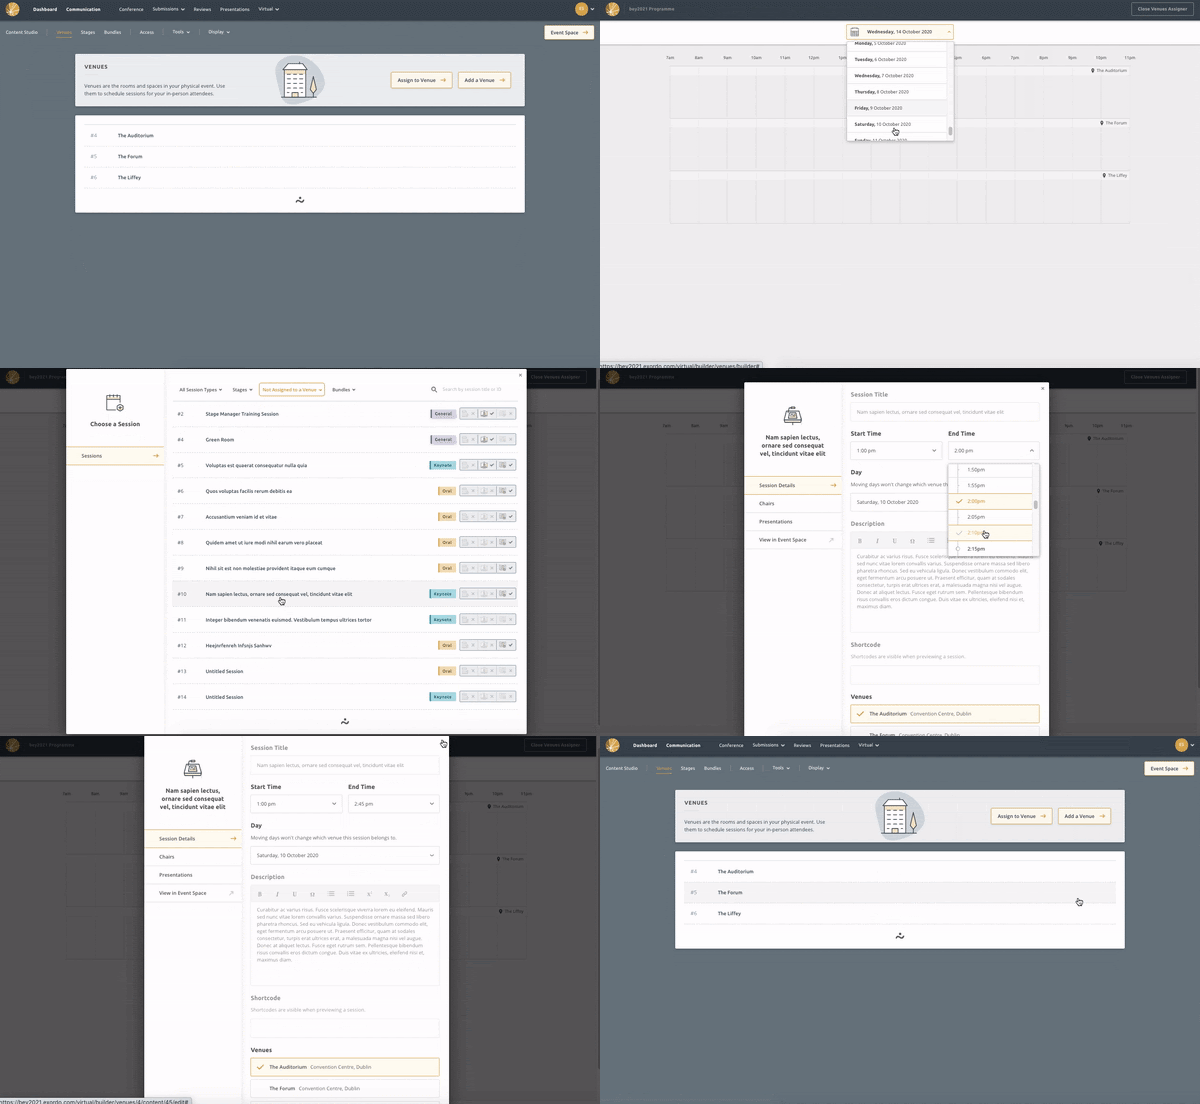
To create your venues schedule, follow the steps below:
- Click on the Assign to Venues button
- Ensure you are looking at the correct day. You can use the date filter at the top of the page to change the dates.
- Click into a venue at a specific time to schedule content. Don't worry if you get the time slightly wrong, you can update the time later.
- Select the session you are scheduling in the pop up window. You can use the filters and search bar to find a specific session.

FAQs:
Can I schedule sessions for a time in the past?
You can’t assign content into a timeslot that is in the past.
What if my session is longer than one hour?
By default, the session duration is one hour. You can change this by clicking on the timeslot and adjusting the end time as you can see in the image above.
How do I edit the session content such as the description and session chairs?
You can’t edit the session content in the venues assigner. You can edit session content in the Content Studio.
How do I remove a session that is no longer happening?
To remove a session, click on it in the Venue Assigner, and click “Remove from Venue” in the bottom left corner.
How do I change the date or time of a session?
You can update the date and time of a session in the Venues assigner by clicking on it and adjusting the date and time in the pop up window.
