Once content sessions have been created in the Content Studio, the next step is to create a Stage to contain the content.
Stages are where you are going to schedule your Live Presentations. These will become available to delegates at the allotted time. Stages have a maximum capacity of 1,000 attendees at any one time.
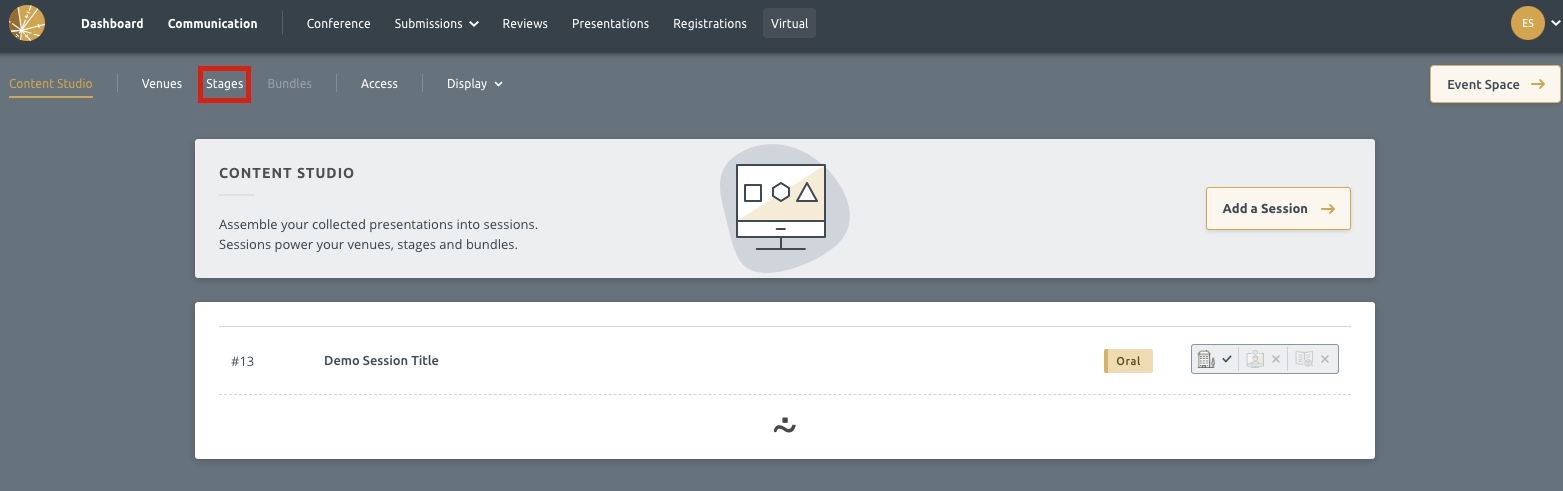
Step 1) Navigate to the Stages Tab
Stages can be created from the Venues tab from the Content Studio:
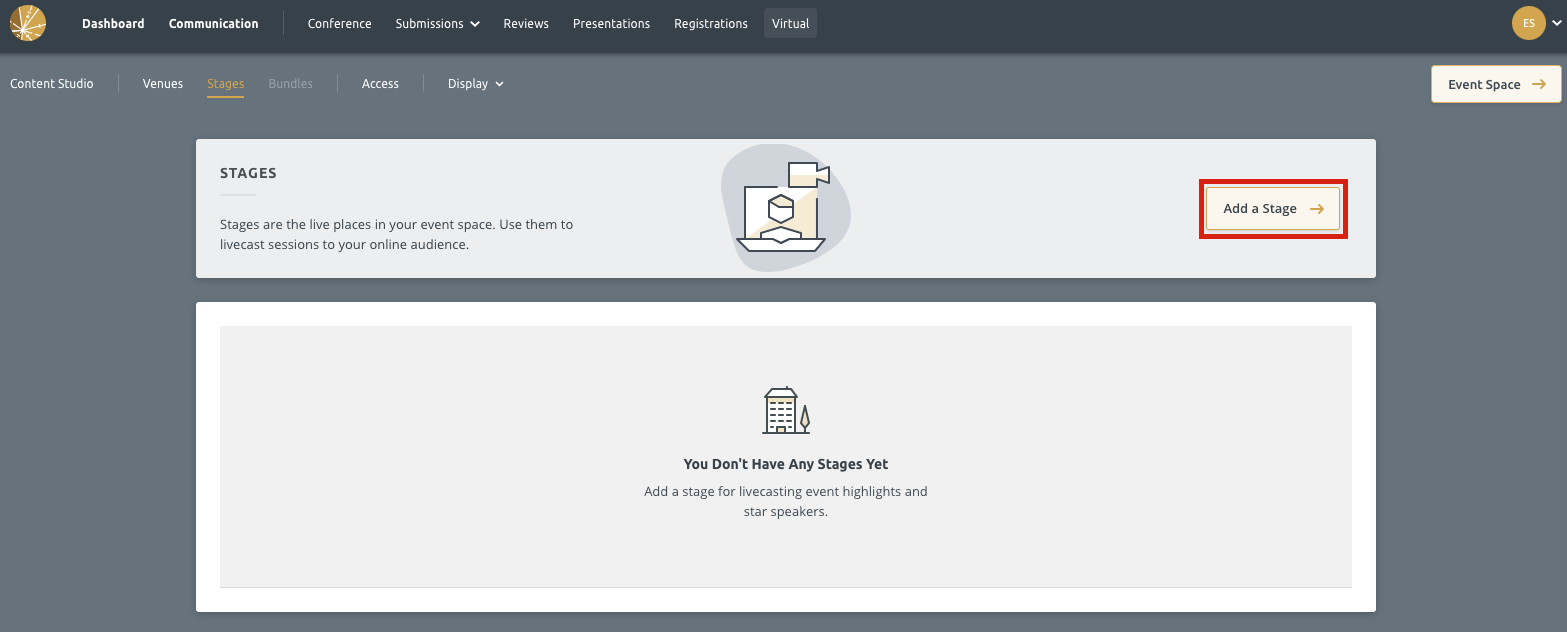
Step 2) Add a Stage
Next, you will need to create the Stage. You can do so by clicking the “Add a Stage” button:
After Clicking, you will see the screen below:
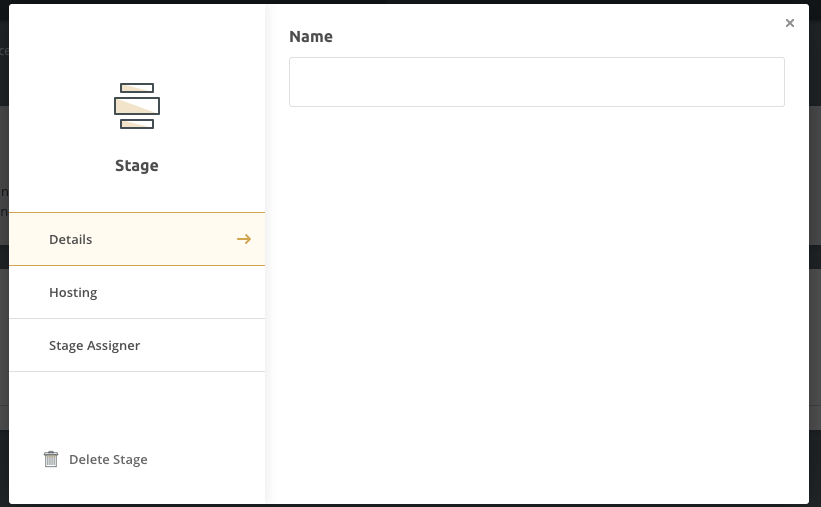
Here, you need to populate the Name of the Stage and that’s it.
This will then appear in the Stages screen:

Step 3) Adding a Stage Manager
You will then need to define a Stage Manager for the stage. We have more on that here.