This article explains how to review the submissions that have been allocated to you as a reviewer.
Conference organisers can customise the review hub and create the questions that you may be asked. Your screen may look slightly different than the images and video in this article.
Step 1: Start reviewing
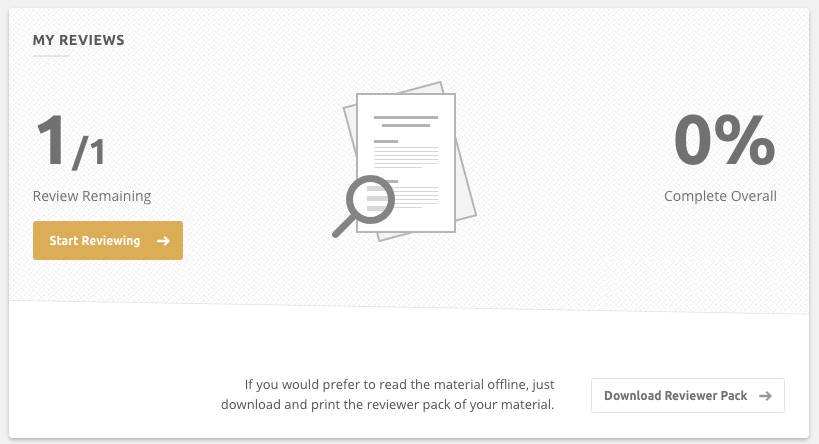
You can do this by finding the My Reviews card on your dashboard and clicking on Start Reviewing. This will bring you to the list of submissions where you will see all the submissions that have been assigned to you.

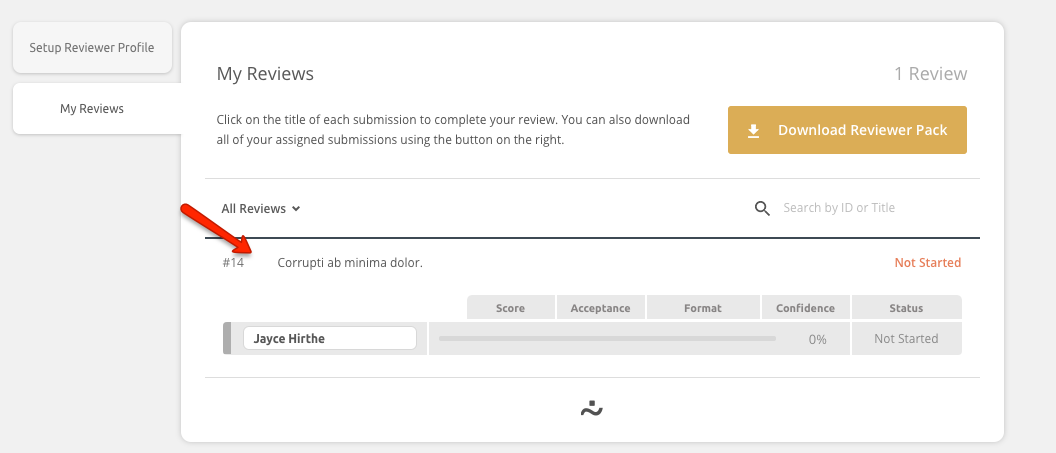
Step 2: Select a review
If you haven't started any reviews yet, they will all be marked as Not Started. Once you start reviewing, it will appear as In Progress and after you finish the review it will appear as Completed.

You can also read your submissions to review offline. Have a look at our guide on the Reviewer Pack here.
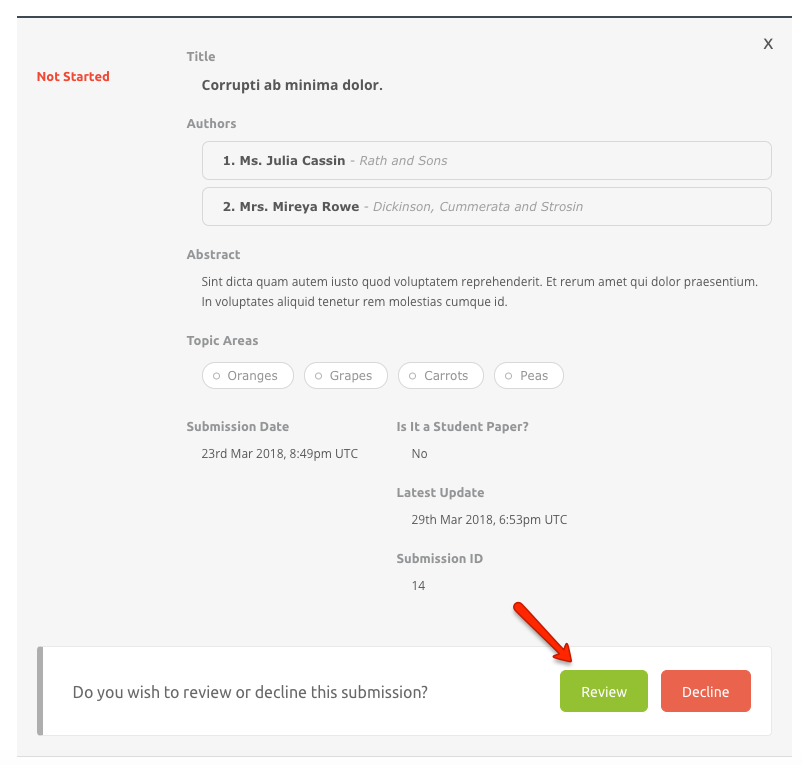
Step 3: Accept the review
You may have the option to accept or decline a review. After clicking on the title of a submission, you can then click on the Review button to get started.

Step 4: Complete the review
Once you have agreed to review a submission you'll see the Marking Scheme with the scoring categories you need to complete. The questions appear just underneath the submission content.
You can see more information about the questions on the left-hand side by clicking the downward facing arrow and you can record your scores on the right-hand side or choose an option from the drop-down menus. The system automatically saves any text or score you have entered as soon as you click outside of the score or comment box. If you log out, you'll find your review the same as you left it.

You may also be required to or asked to leave comments. It is very important ot understand who can see the comments you enter into the system.
- Reviewer feedback for Authors comments will eventually be shared with everyone who is listed on an author on the specific submission. These comments are also visible to conference admins.
- Reviewer feedback for Conference Chairs will only be visible to you and the conference administrators. The administrators may choose to share these comments with authors, but this does not happen by default.

Step 5: Complete your review
Now that you have filled in the review form, the next step is to complete your review. You may need to come back to this review and make changes later on. You can click on the Save & Close button which will allow you to edit your review later.
Hit the Complete Review button when you are finished and ready to lock in your opinion. You won't be able to edit the review again after doing so. You can reach out to the conference admins to request that they reopn your review so you can make changes if you spot a mistake.

That's it! You can repeat these steps for each assignment.
