What is a session creator?
The role of 'session creator' is used to allow track chairs to build sessions in the Virtual Builder. This role may not be available on your platform depending on the conference settings.
If you are a session creator, you will be able able to build sessions from accepted content or by adding new content into the Virtual Builder. The conference administrators will be able to schedule the sessions, once created.
How do I create sessions?
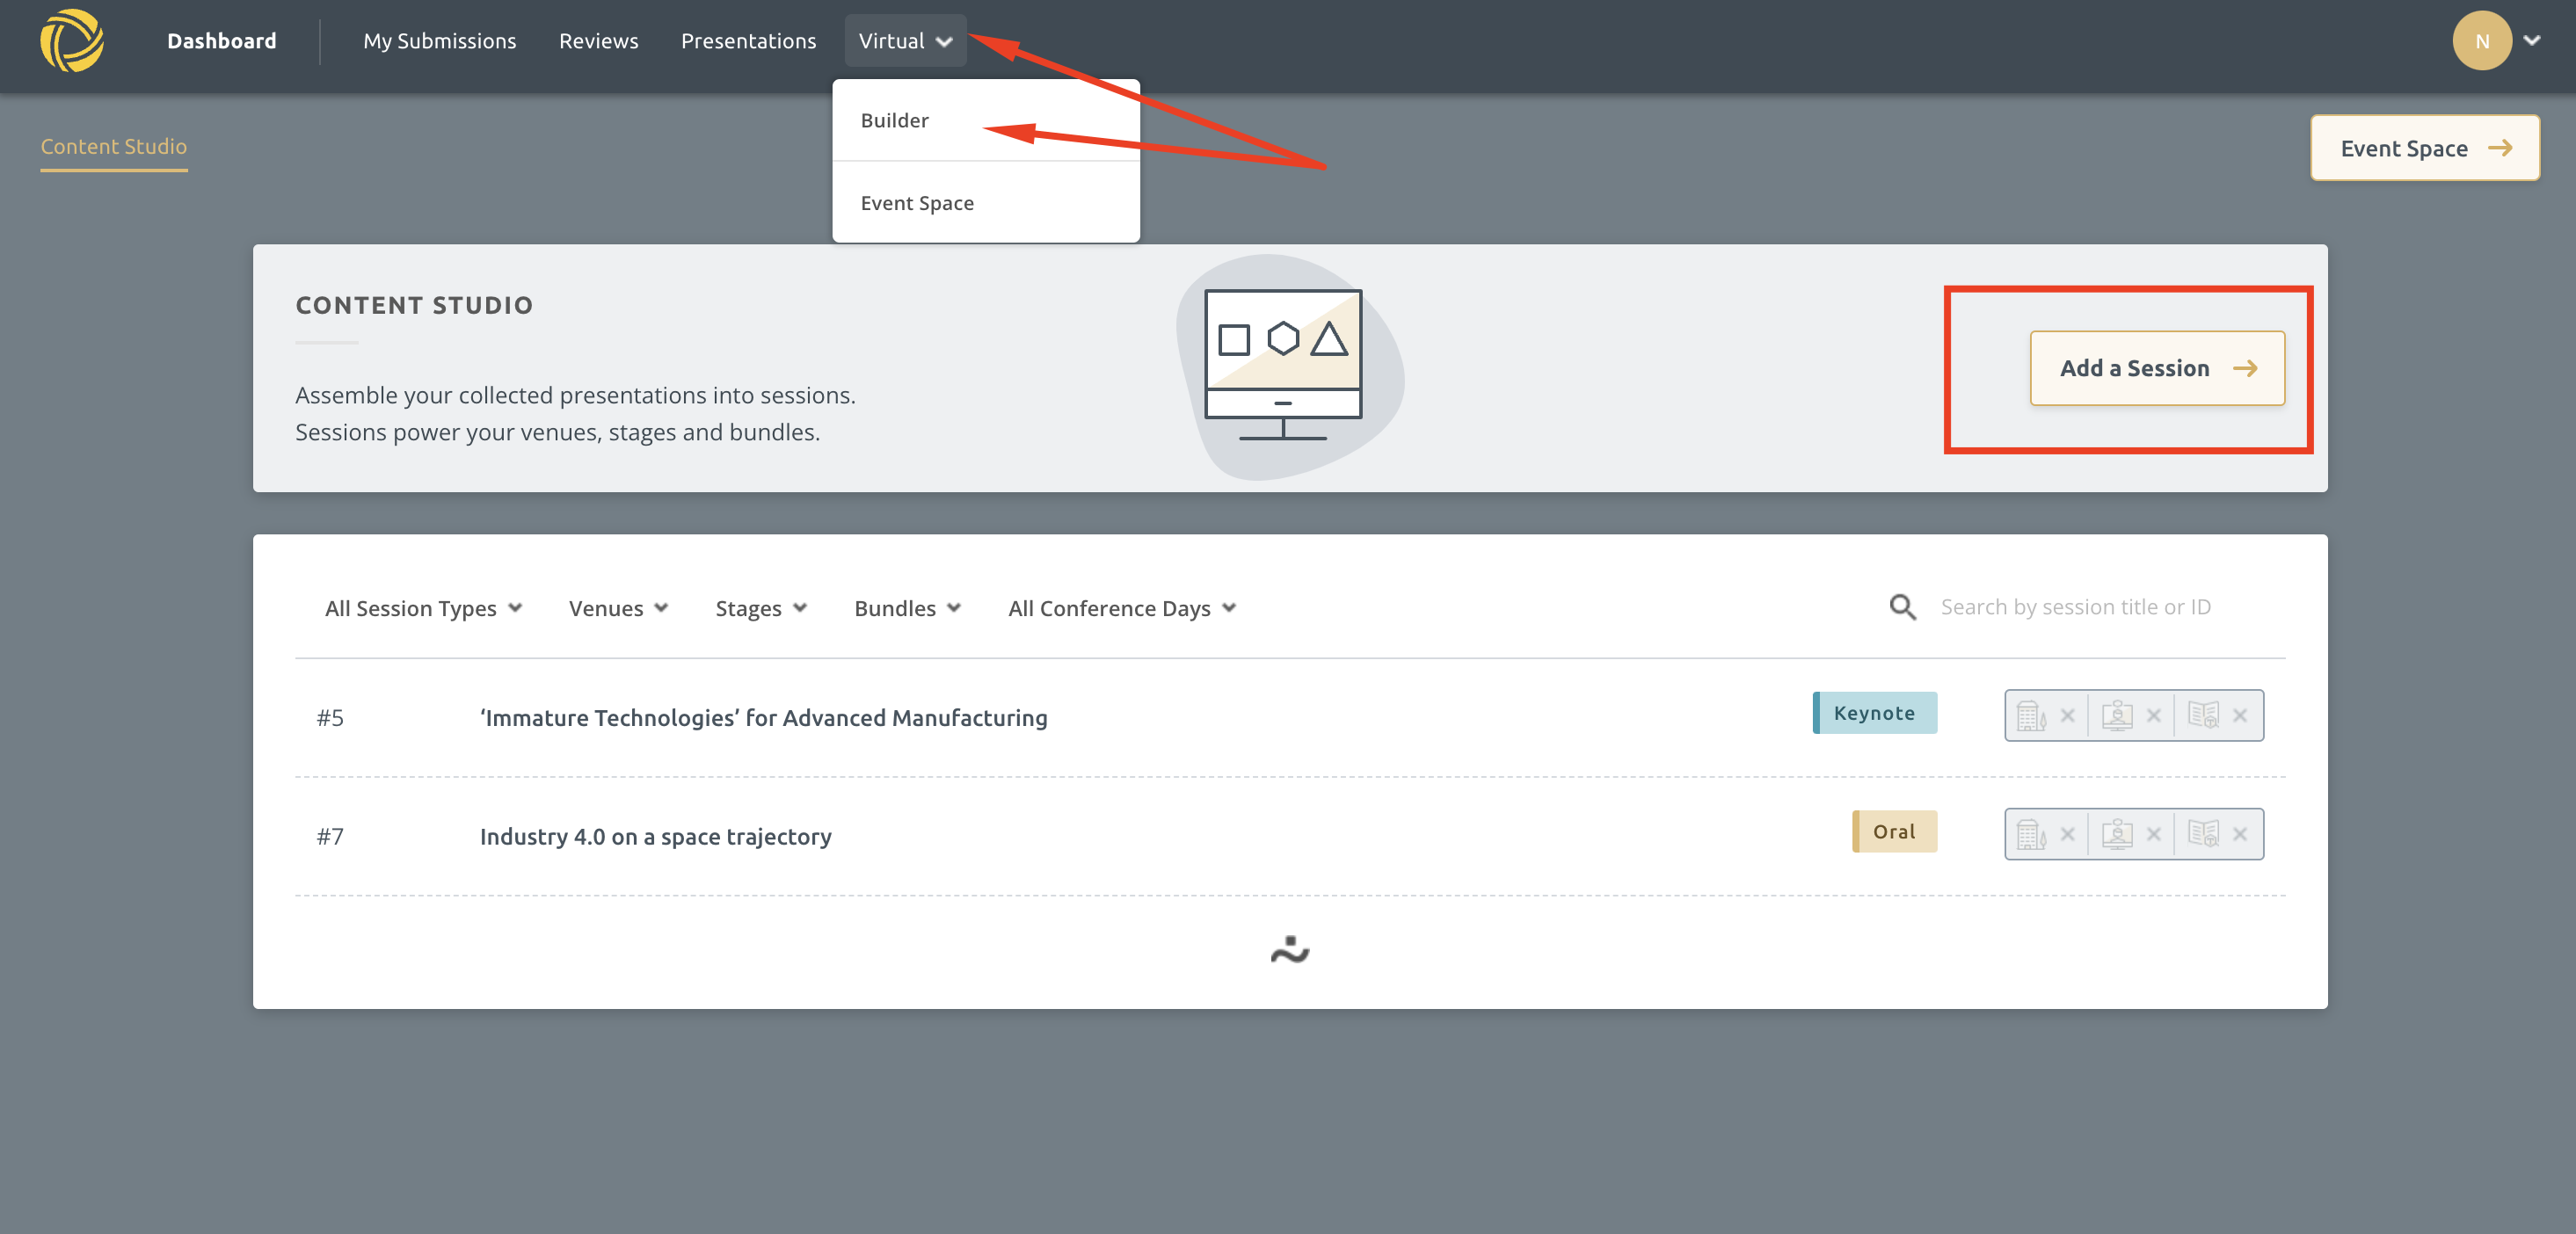
If you are the session organiser on a track, you will be able to organise accepted submissions into sessions by navigating into the Virtual Builder and clicking on the Add a Session button.
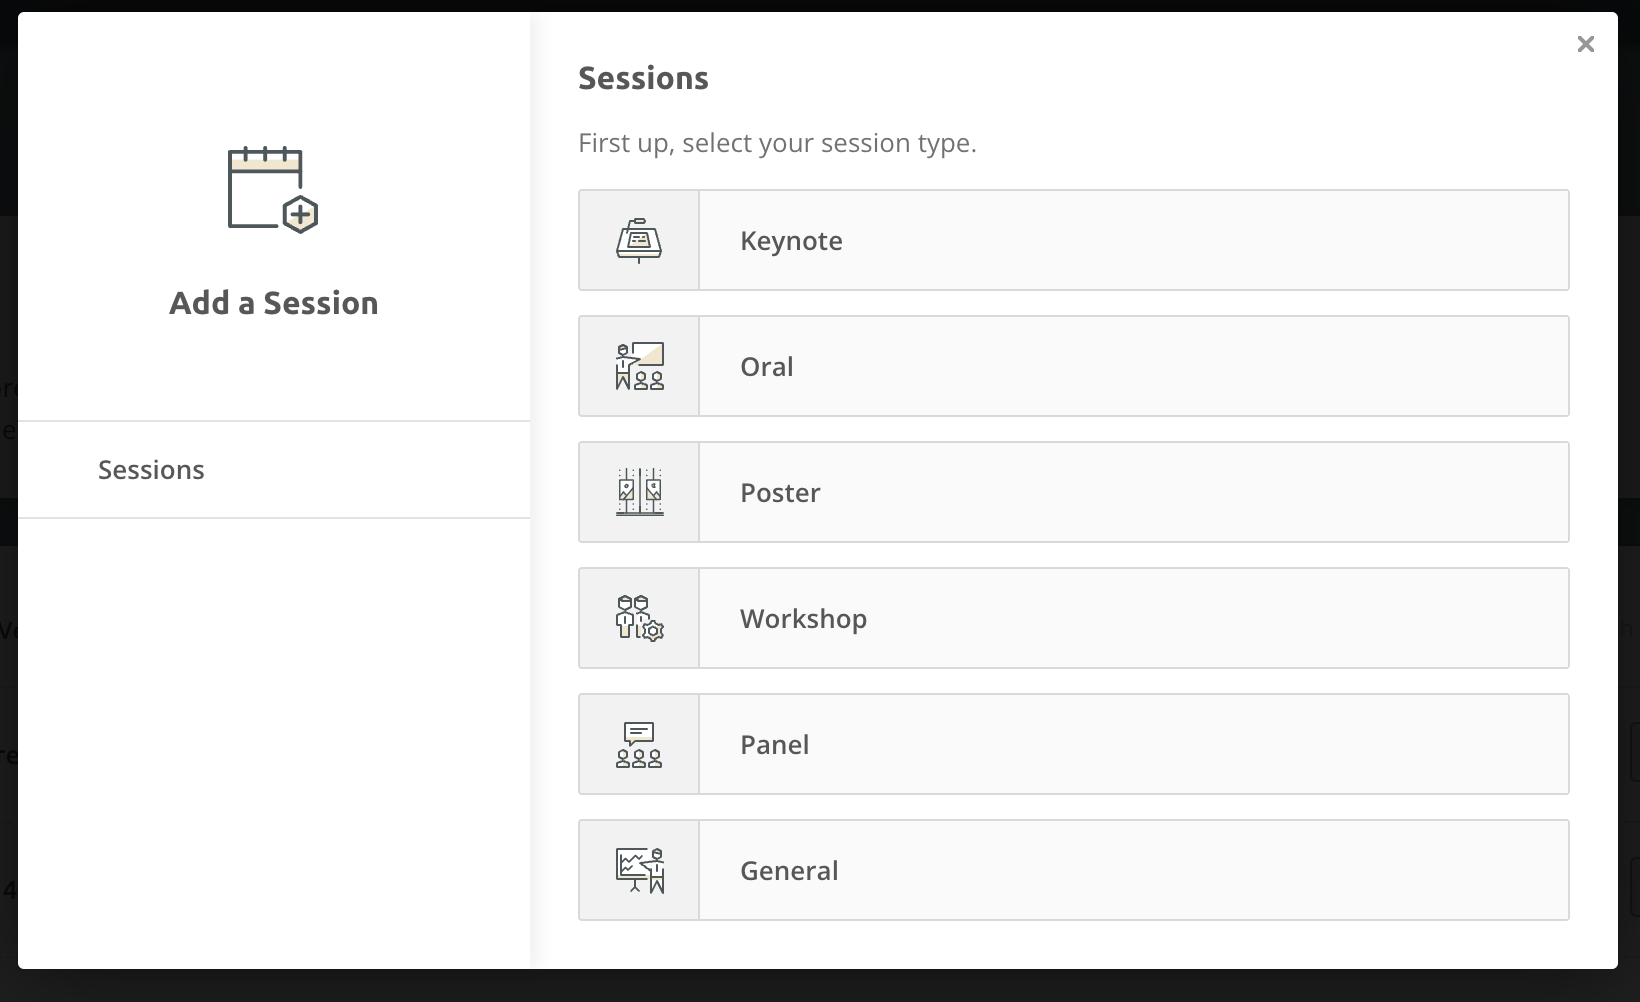
You can then pick the type of session you are creating on the next screen. Technically, all options are the same at this point. The different between the session types is aesthetic only.
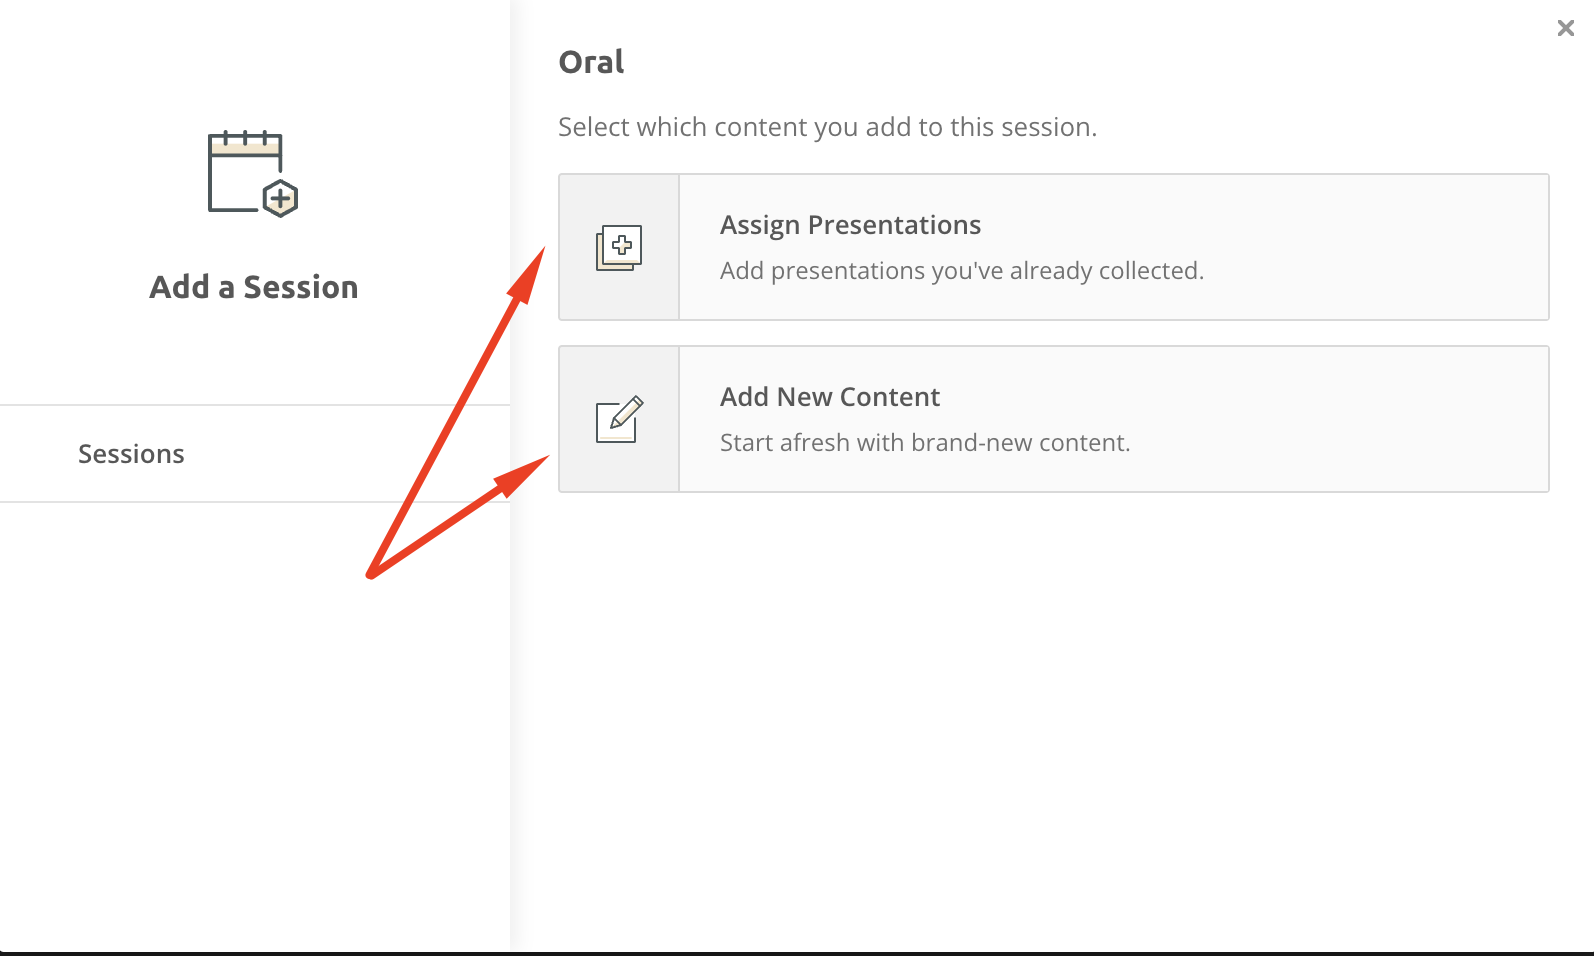
You have an important decision to make on the next screen. Please select one of the following:
- Assign presentations to create a session from your accepted submissions
- Add New Content to create a session with content that does not originate from an accepted submission. For example, you may need to add in a presidential address or social activity. If the session does contain accepted submission content, you can add it manually.
If your platform is using the Panels feature, you can also create a session from your pre-organised panels. This is only available on platforms using the panels feature.
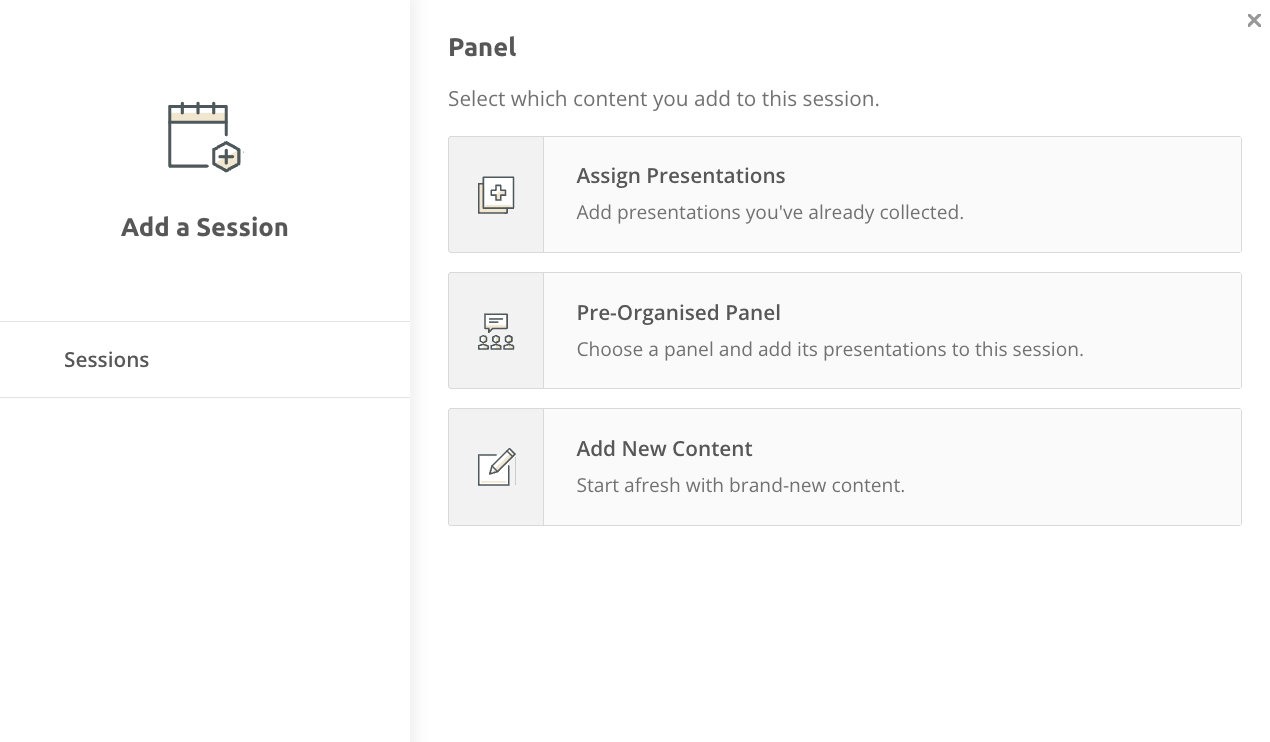
Next, click through each tab and fill in any details. Fields can be left blank, if needed.
- Session Details: Add session title, description and shortcode (if needed)
- Session Organisers: Add the name and contact details of the person or people who will chair the session
- Videos: Upload a video from your device (only available to conference who have purchased the full Virtual hub or video collection)
- Recordings: Connect a Webex recording taken during the session to the Virtual hub - this allows attendees with media access to watch the session after it has happened in the event space.
- Presentations: Assign accepted submissions into the session. This is only visible if you have selected Assign Presentations in the preceding step.
- Manual Content: Enter in new content (e.g., speaker name). This is only visible if you have selected Assign Presentations in the preceding step.
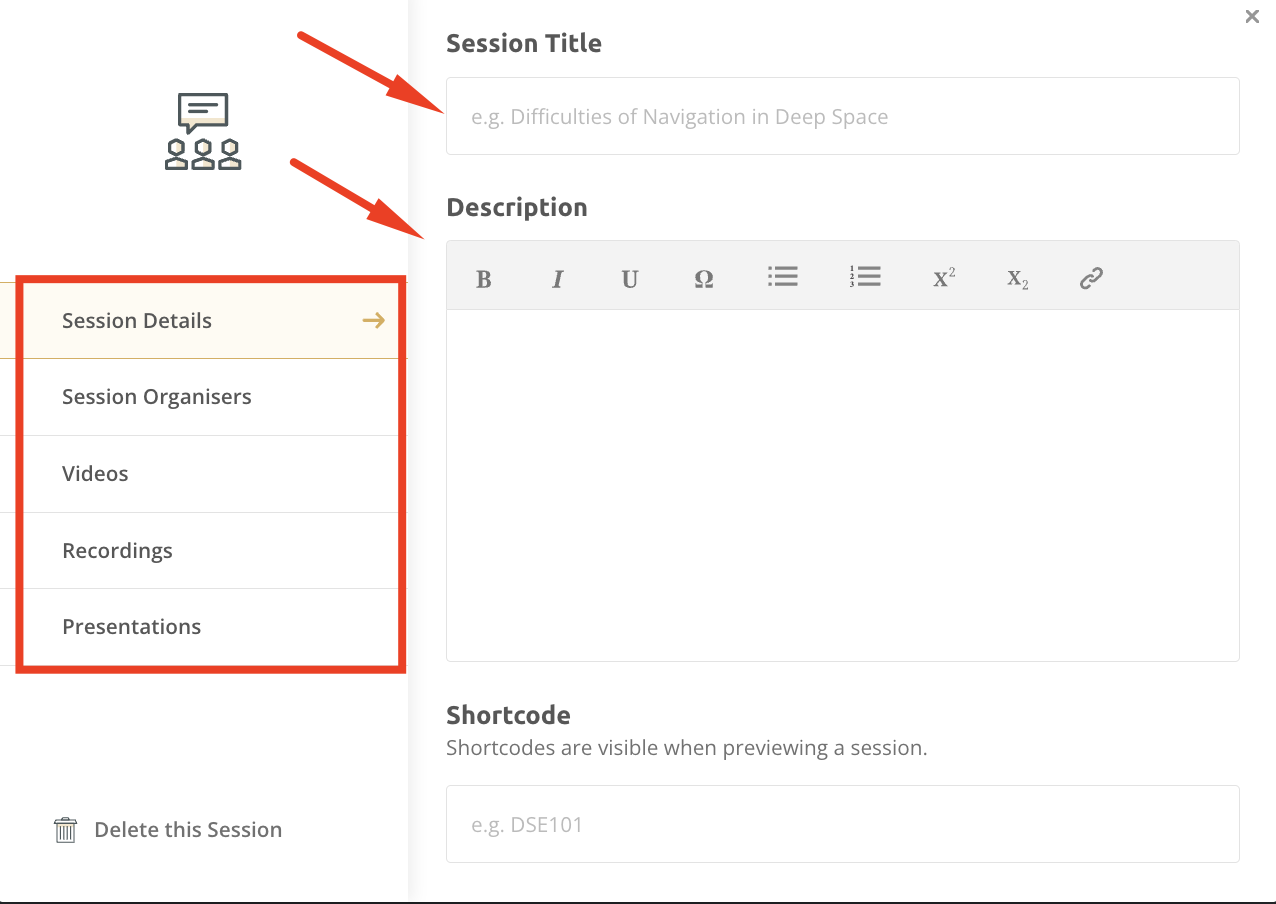
Assign Presentations: A Closer Look
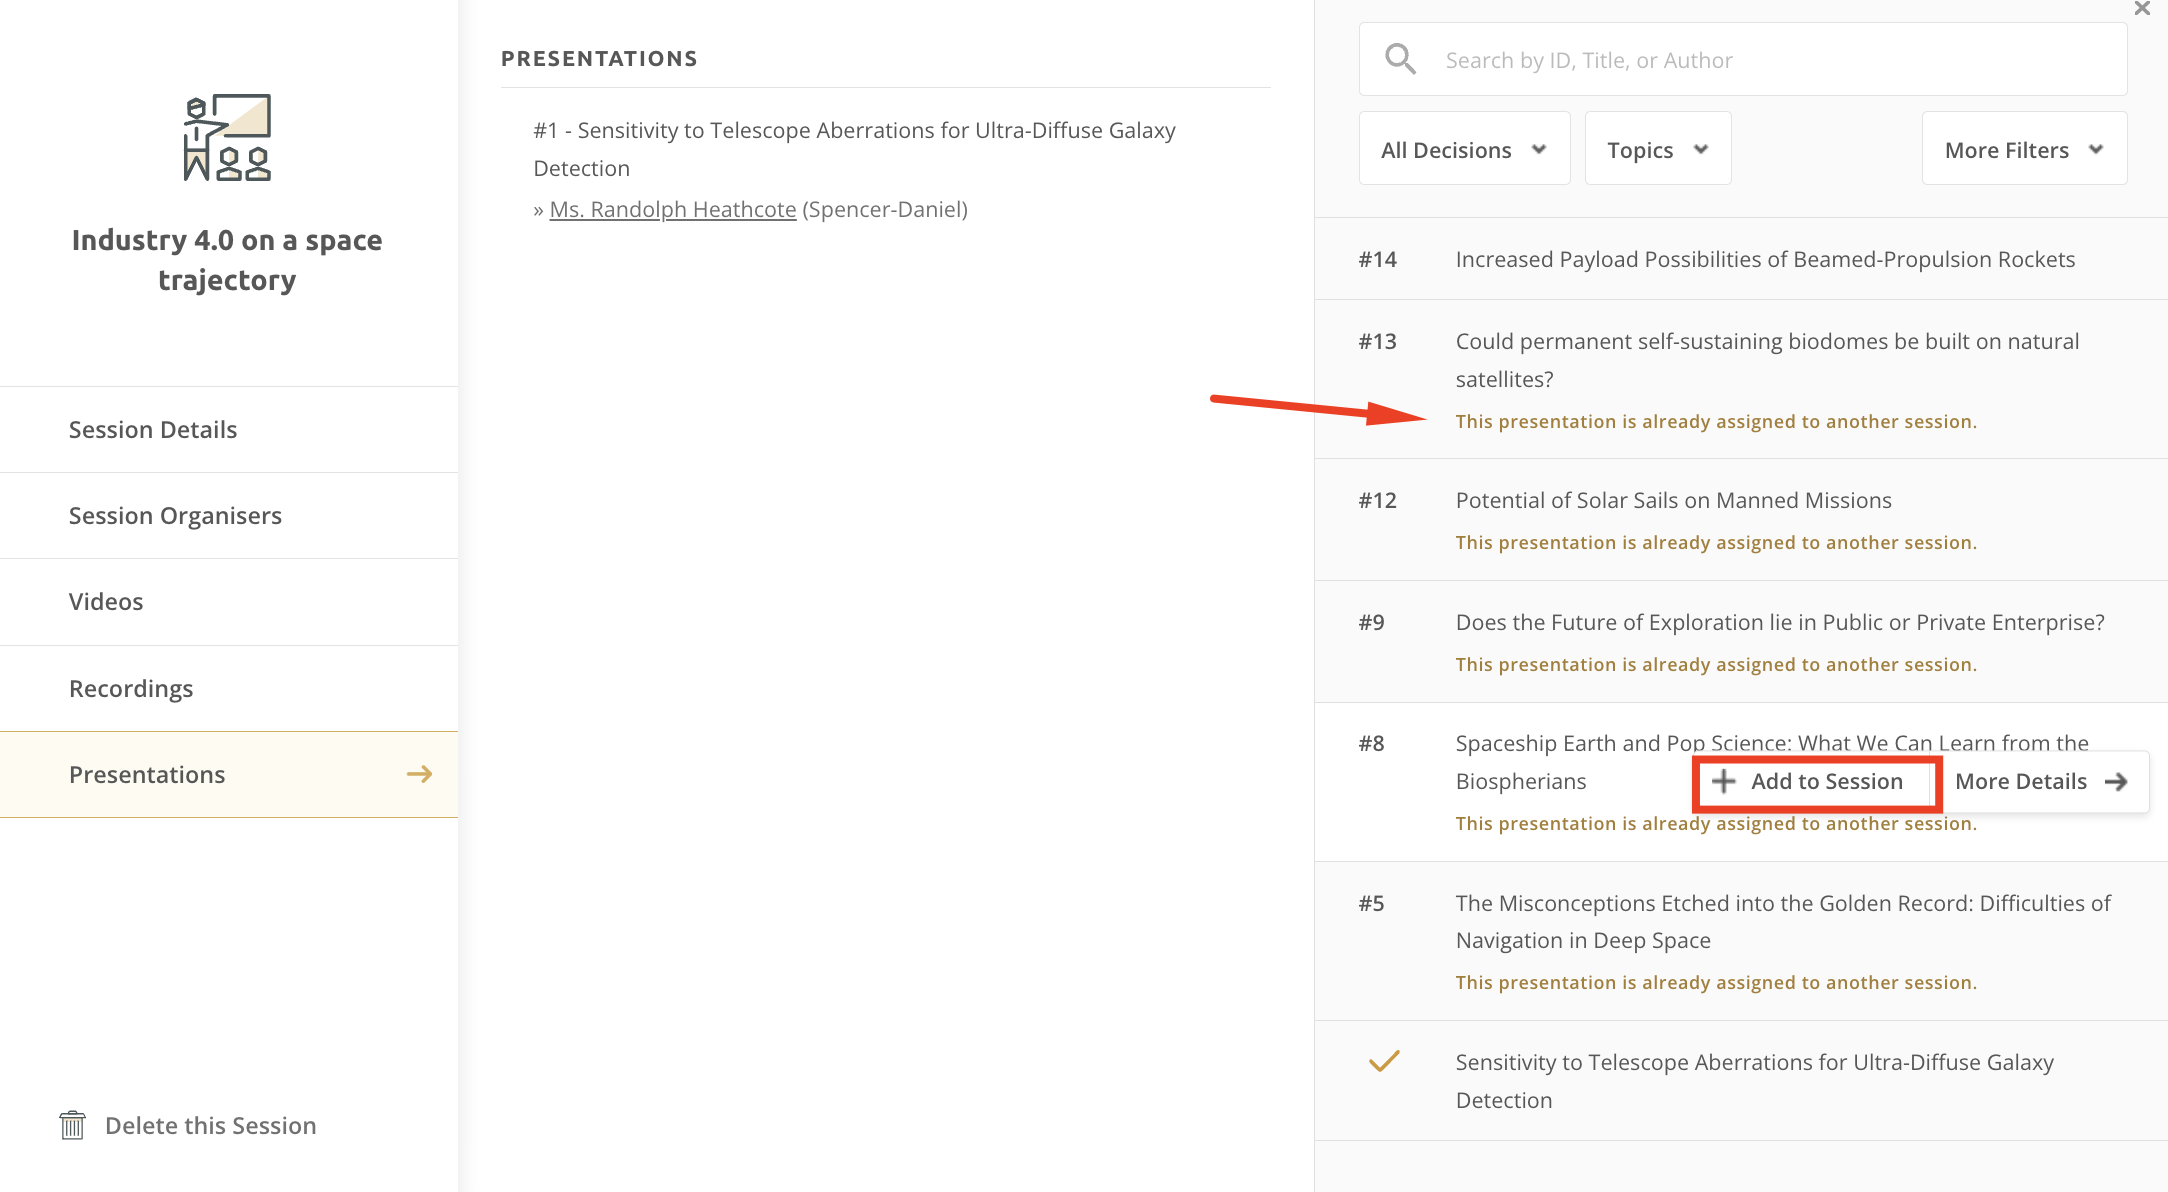
Choosing the Assign Presentations option allows you to add accepted from your track submissions to the session. You will see a list of all accepted submissions on the right-hand side of the Presentations tab. Hover over the name of a session and click the Add to Session button to add it to the current session.
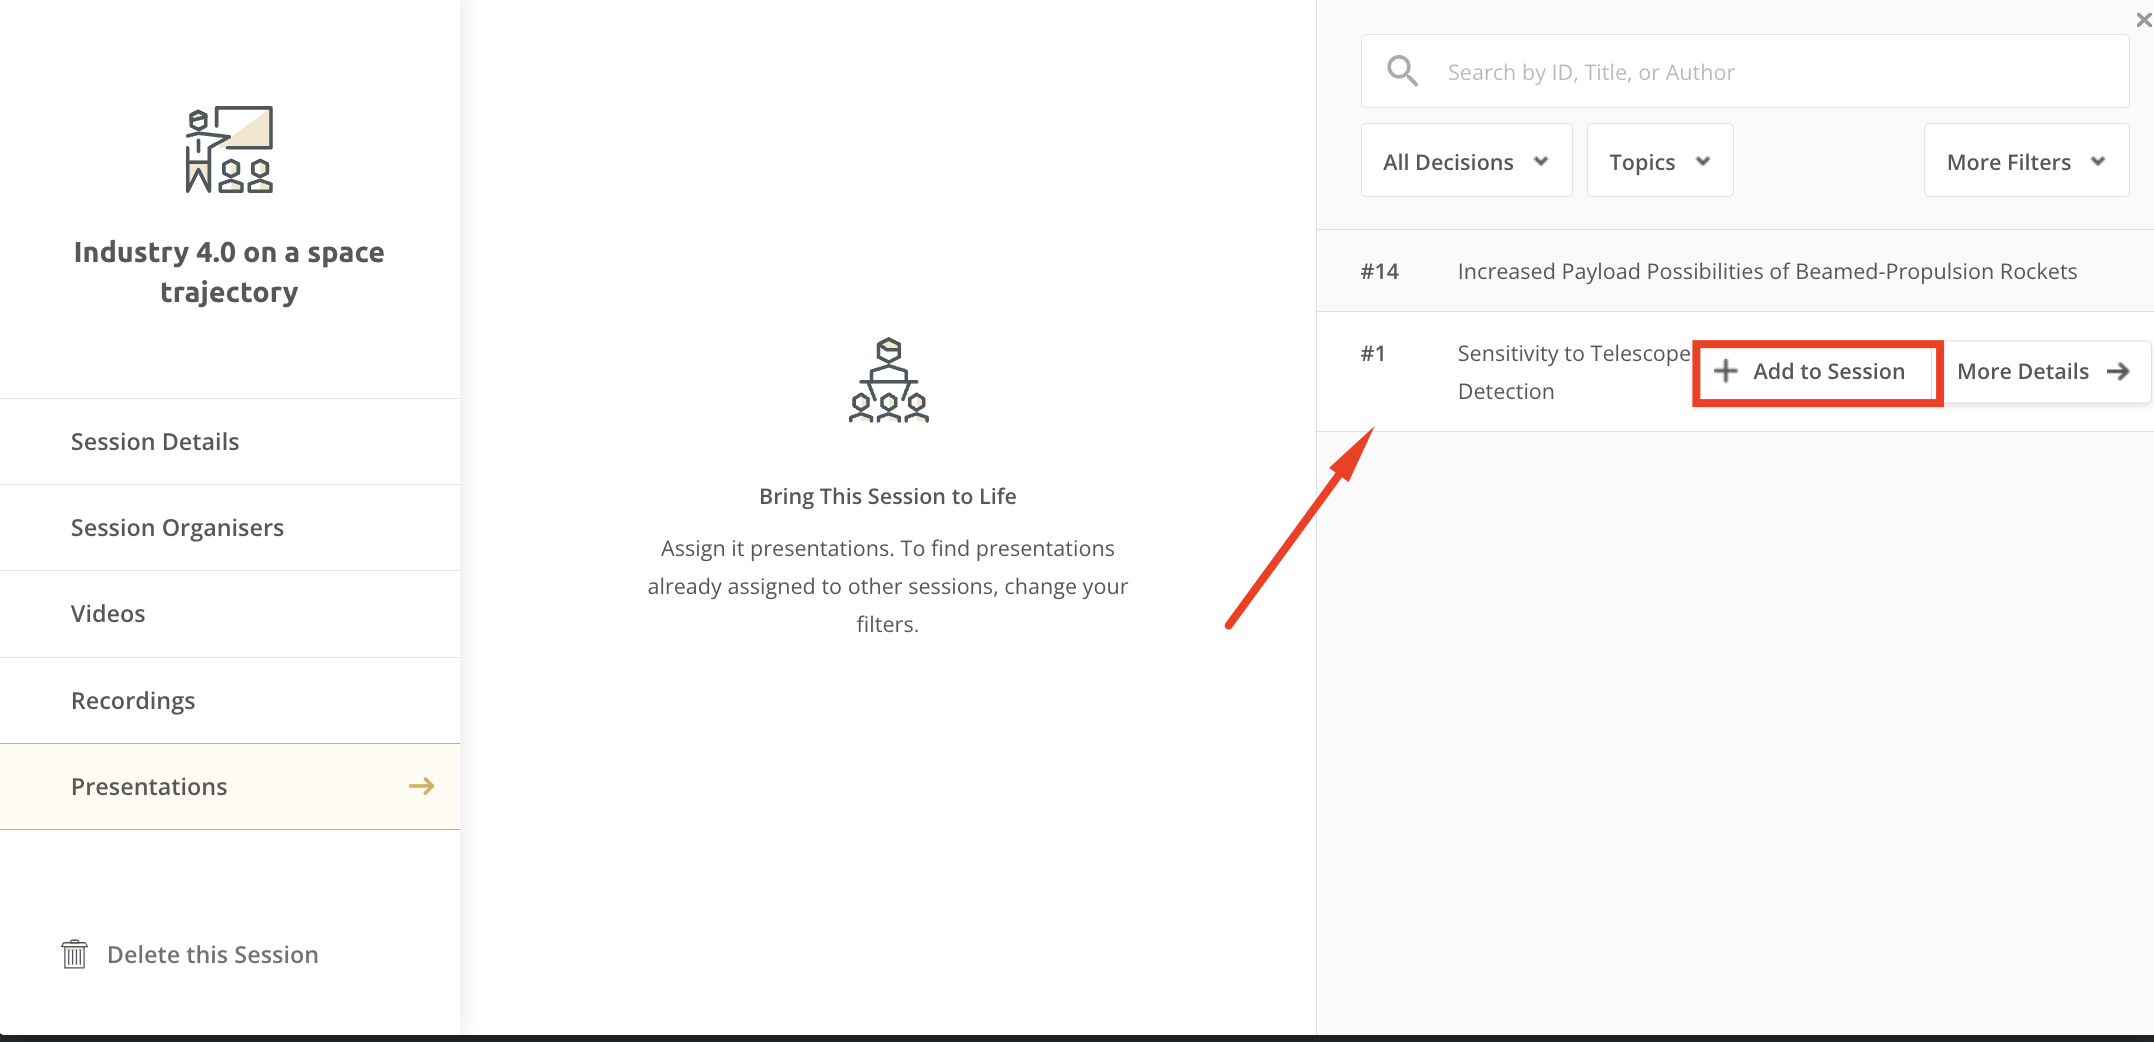
There are a number of filters and a search bar available to make this work more efficient. Narrowing the long list of presentations down by a set criteria will help you identify content more quickly.
You may not be able to find the presentation you need to add. This can happen for a few reasons:
- It was not accepted into the conference.
- The author's declined the RSVP or withdrew their work before you were able to add the work to a session.
- The content was submitted and accepted to a different track. You can only add presentations from the track that you are the session creator on, even if you are track chair on other tracks.
- The presentation has already been added to another session.
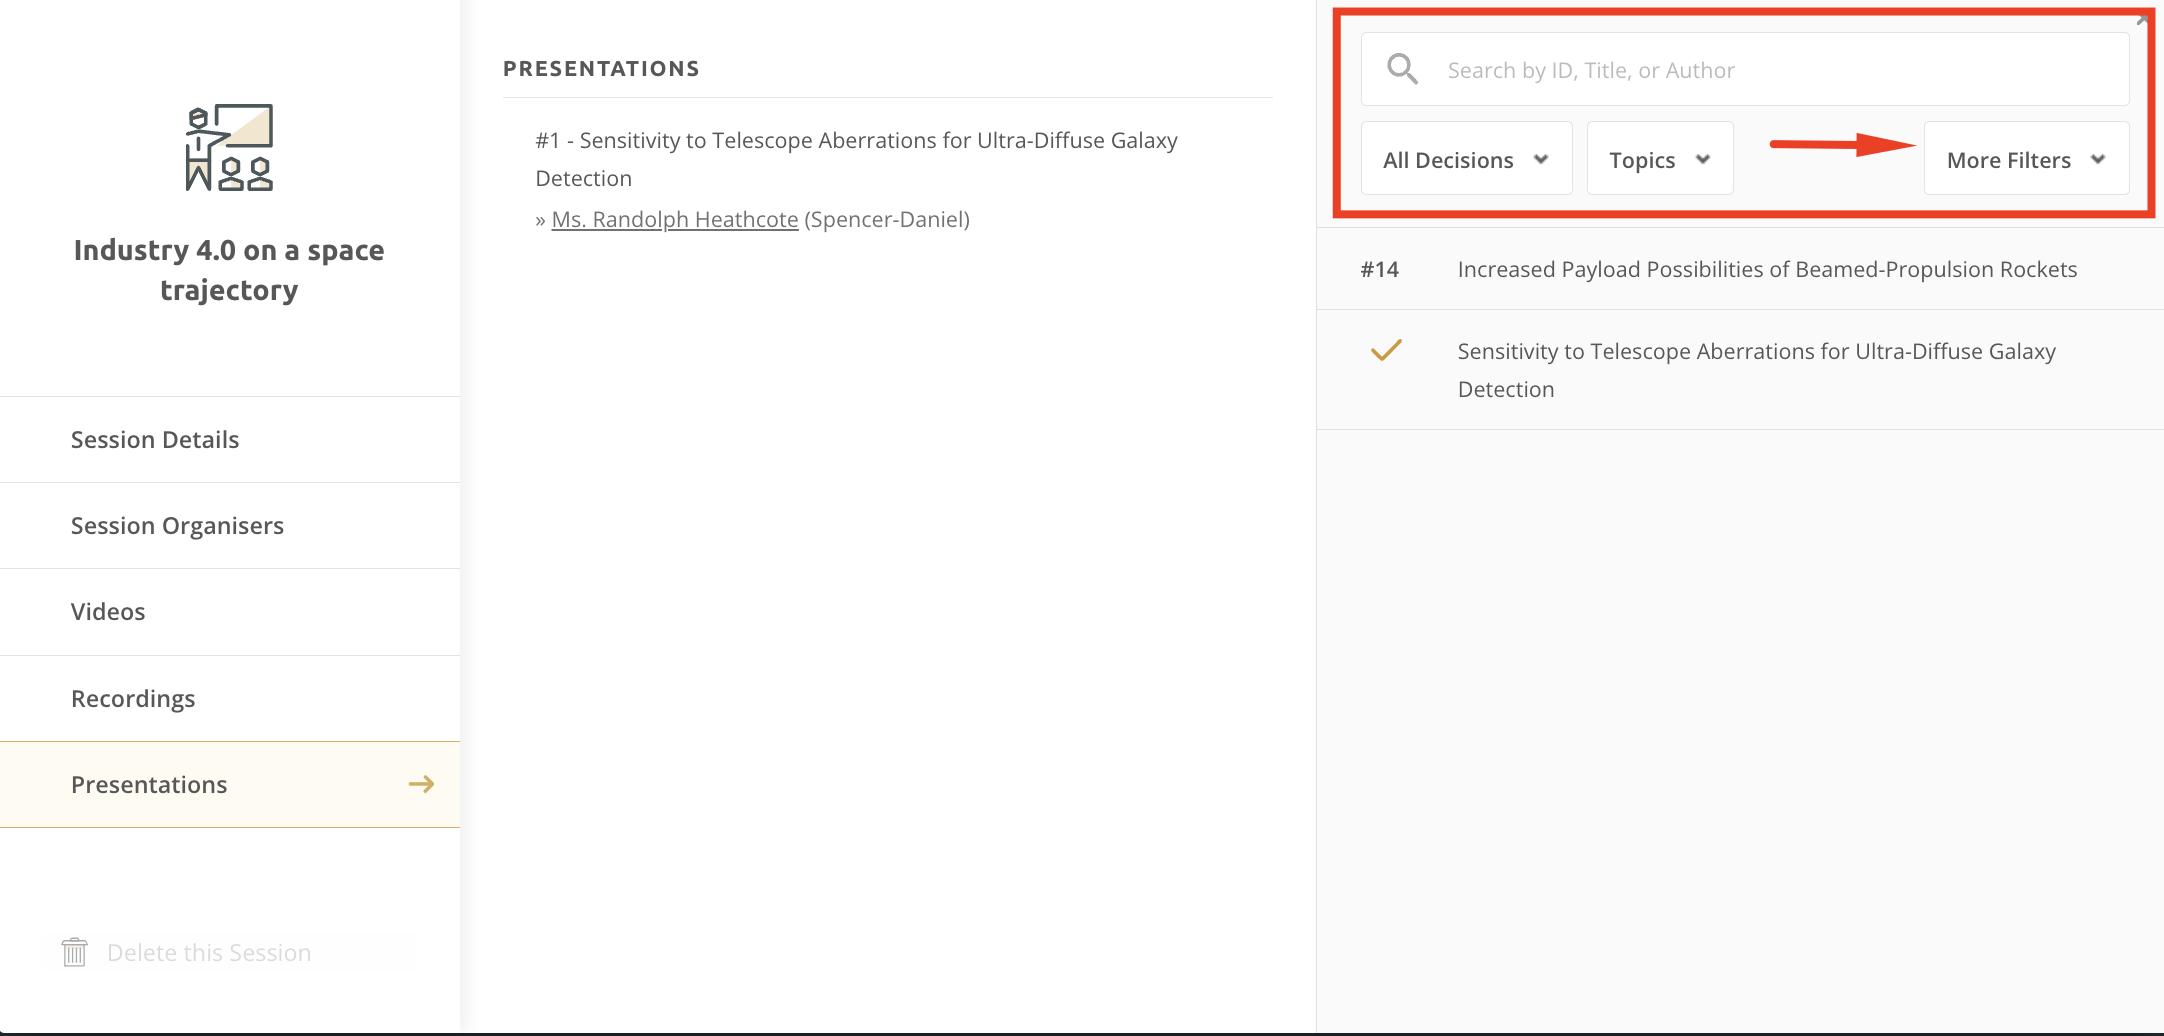
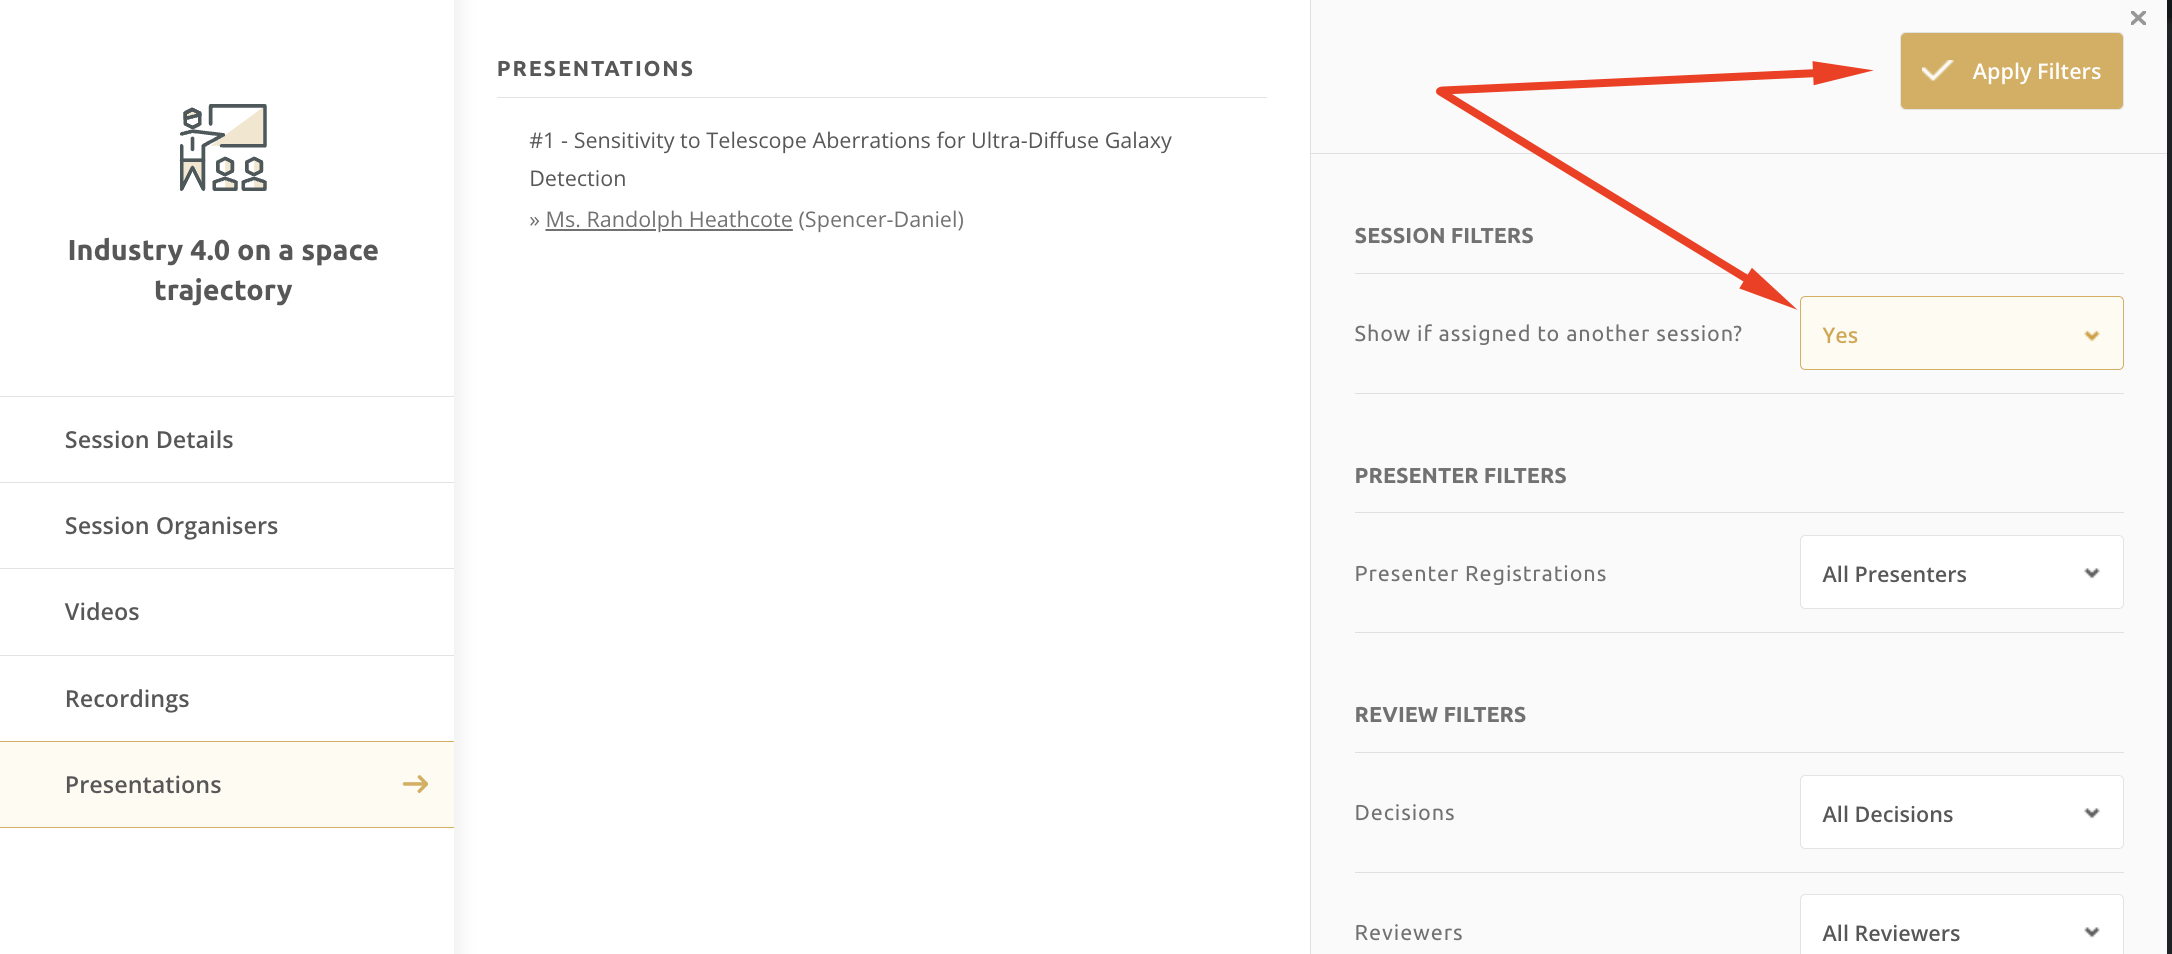
The system does not want you to accidentally add a presentation into two sessions so it does not display content is is already in a session. You can see all presentations, including those scheduled elsewhere, by clicking on More Filters. On the next step, change the very first filter to Yes and click Apply Filters.
You will now see all presentations. The system will warn you if the work is added to another session. You can hover all presentation and add them to the session, even if they appear elsewhere.
Add New Content: A Closer Look
Choosing the Add New Content option allows you to input content that has not been accepted through the abstract management system. Examples of content you may need to add using this approach includes invited speakers, presidential talks, social events and trips.
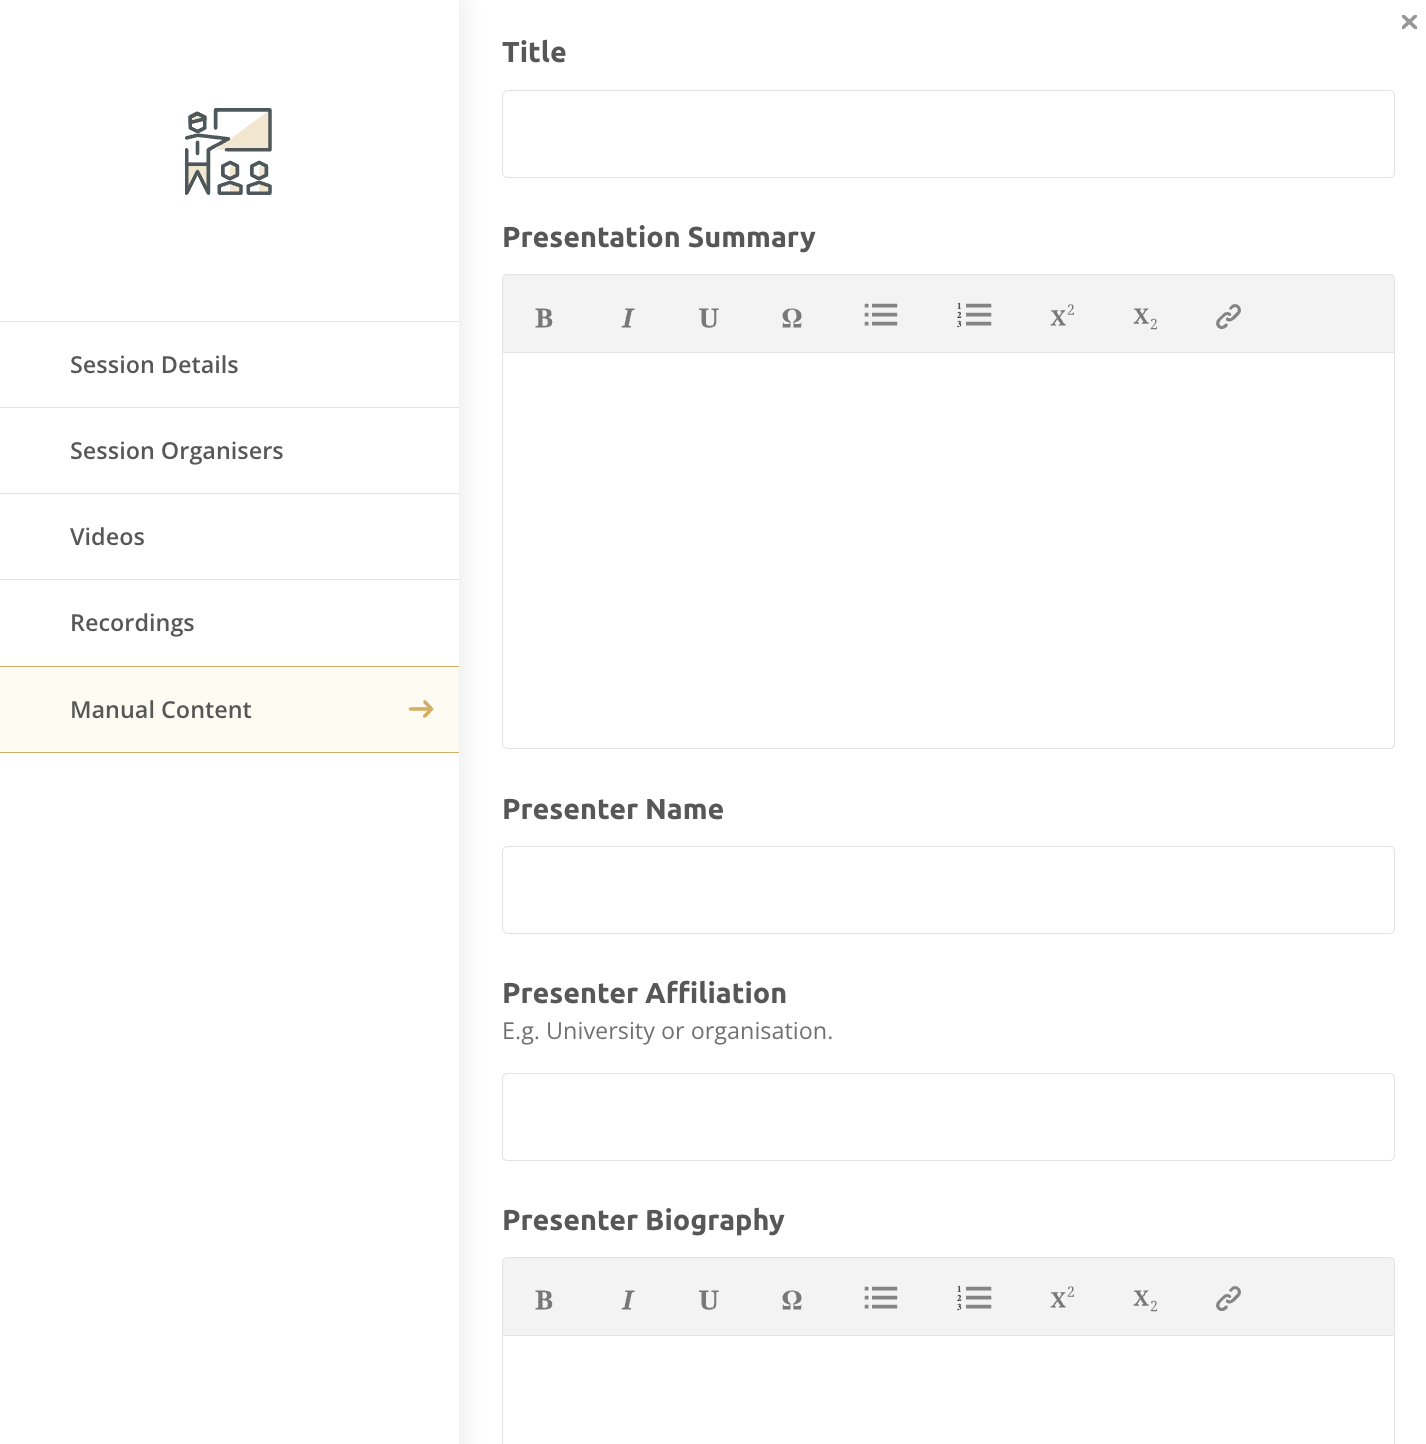
On the Manual Content tab, you can add a title and summary of the content (if needed), as well as the presenter's name, affiliation and biography.
Pre-Organised Panels: A Closer Look
This option may not be visible on your platform. Only conferences using the panels feature will have this option. Please reach out to support@exordo.com if you believe you should have this option, but do not.
If you choose the Pre-Organised Panels option, you will be asked which specific panel you adding on the next step. You can use the search bar or filters to identify the work you are adding, then click on the title to add it.

You will have additional options after selecting a panel. Some details are locked and must be changed at the panel level. This includes:
- Session Title: This is the panel name and must be edited in the List of Panels.
- Description: This is the panel description and must be edited in the List of Panels.
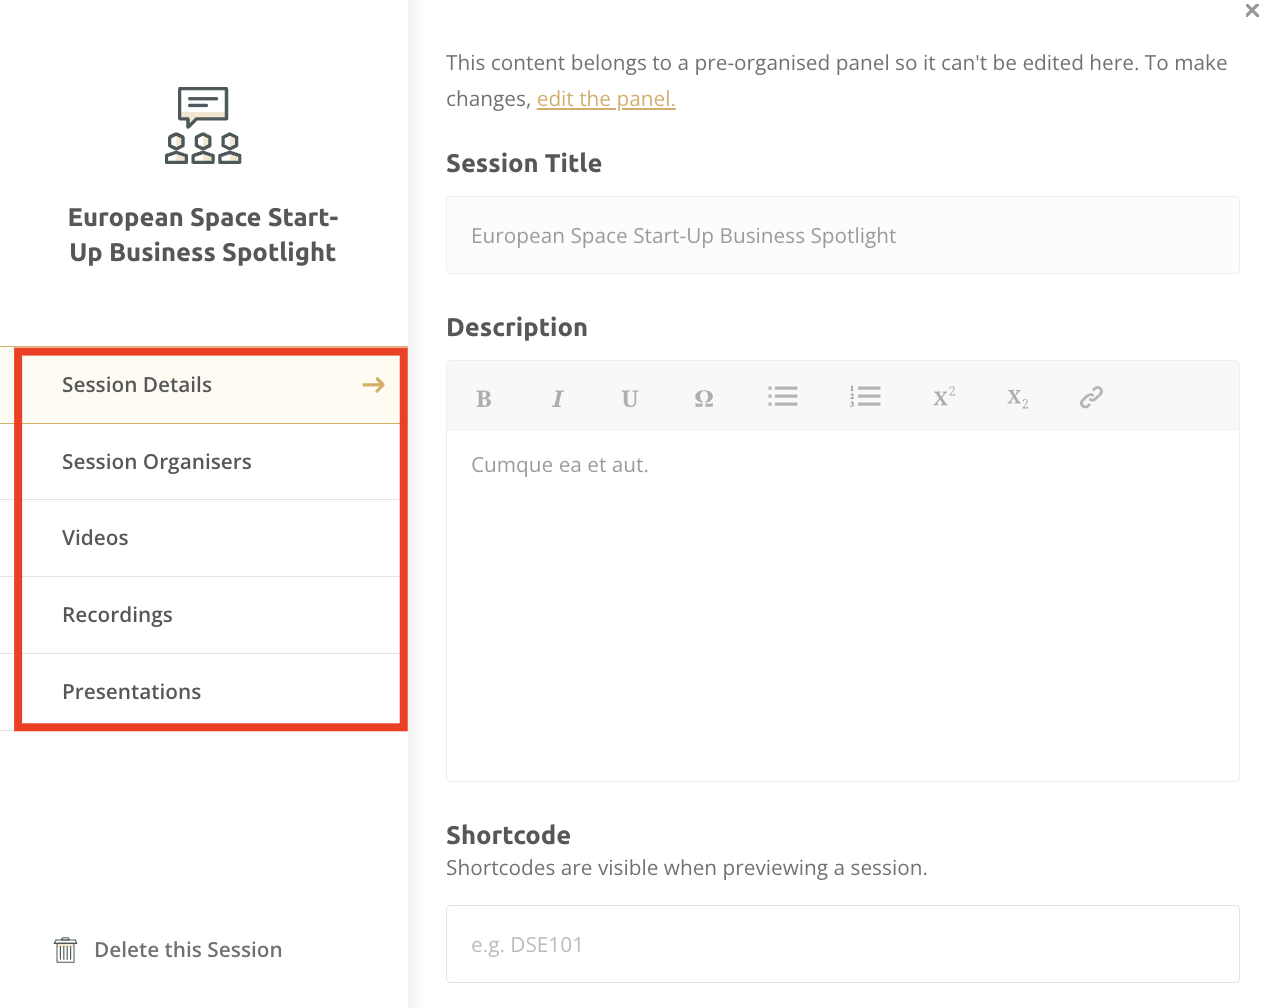
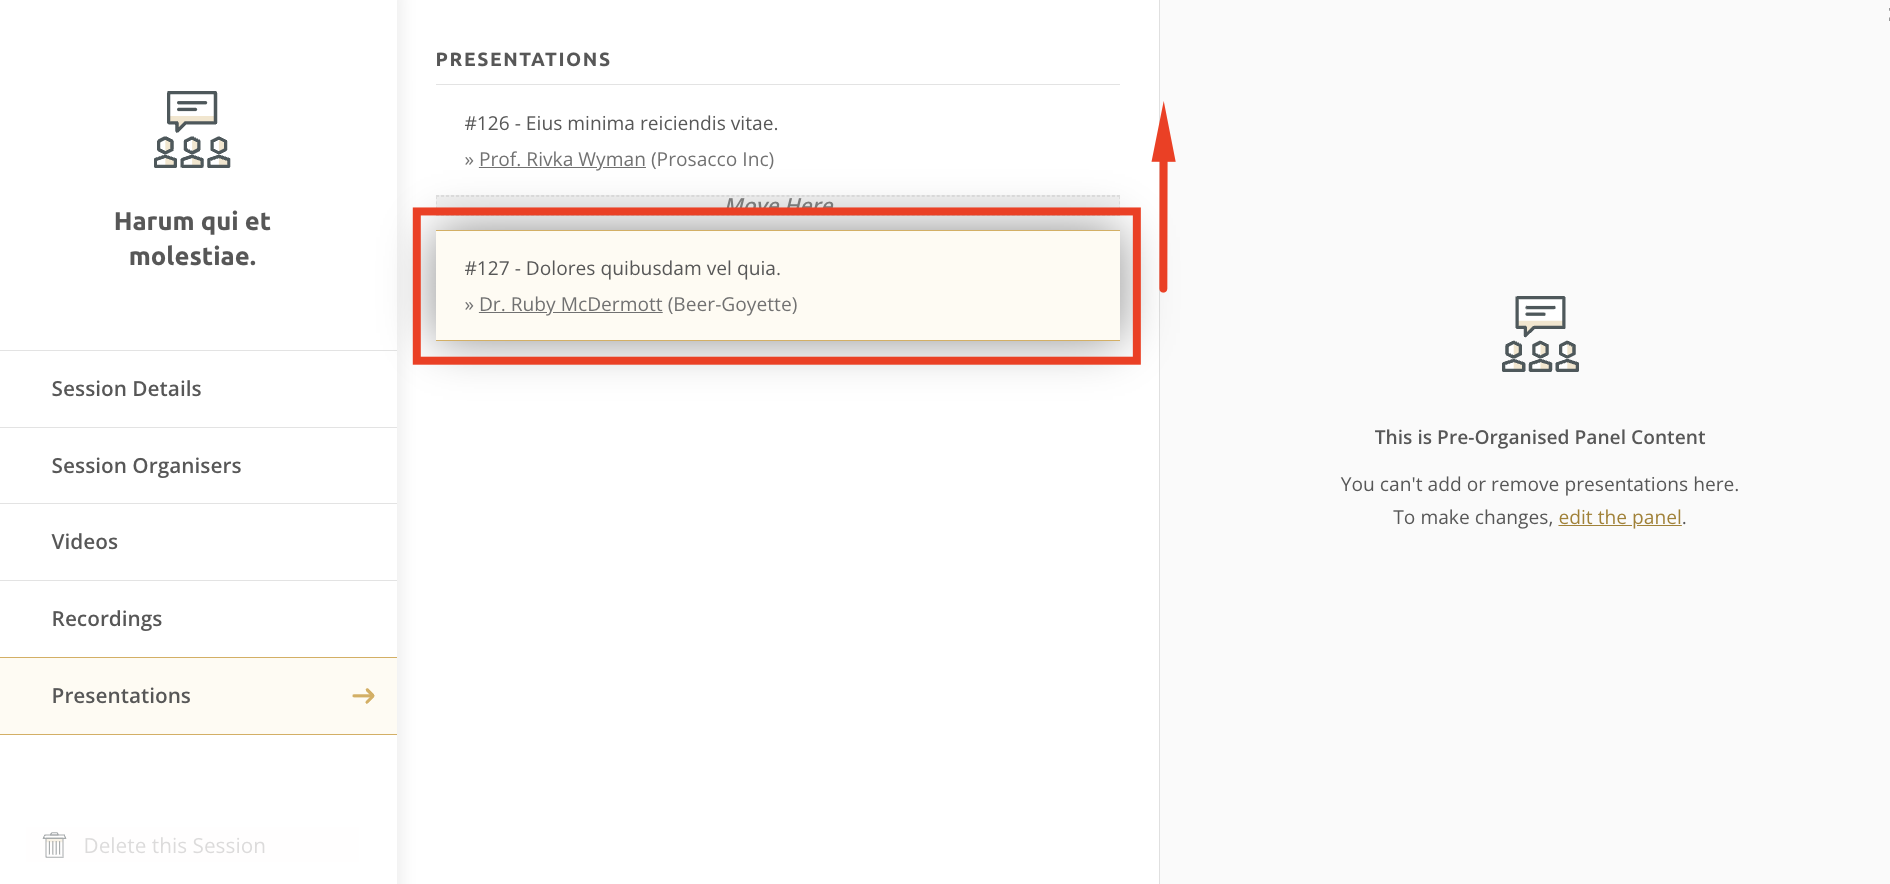
You can change the order of panel contributions on the Presentations tab by clicking on them and moving then into a different position, if needed.
