In order to get started with using invoices for your conference registrations just select Invoicing from the Manage menu in the Registration hub. The menu is on the top right-hand side of your registration options.

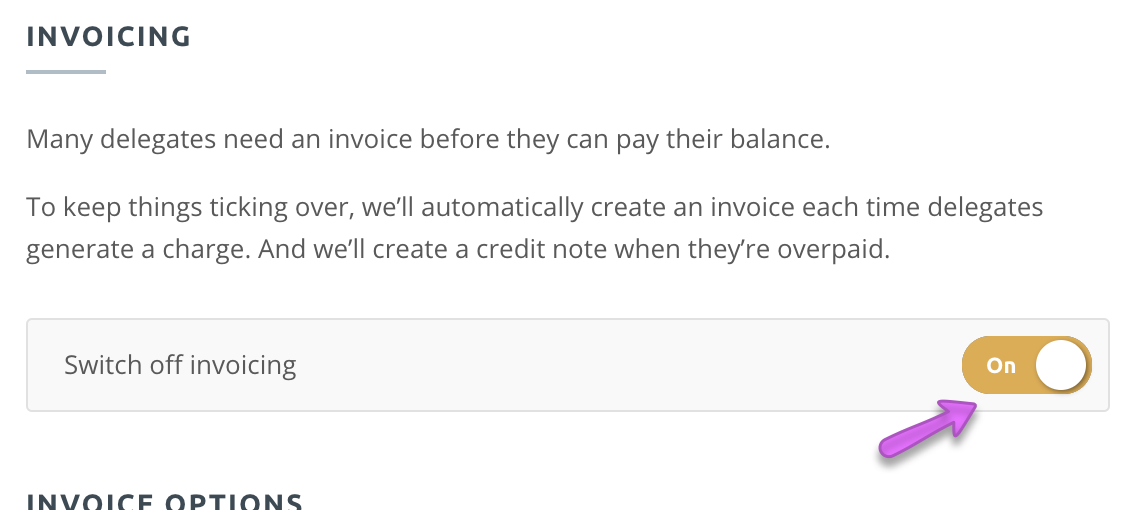
Invoicing is turned off by default so in order to begin using invoicing you'll have to switch it on, like so.

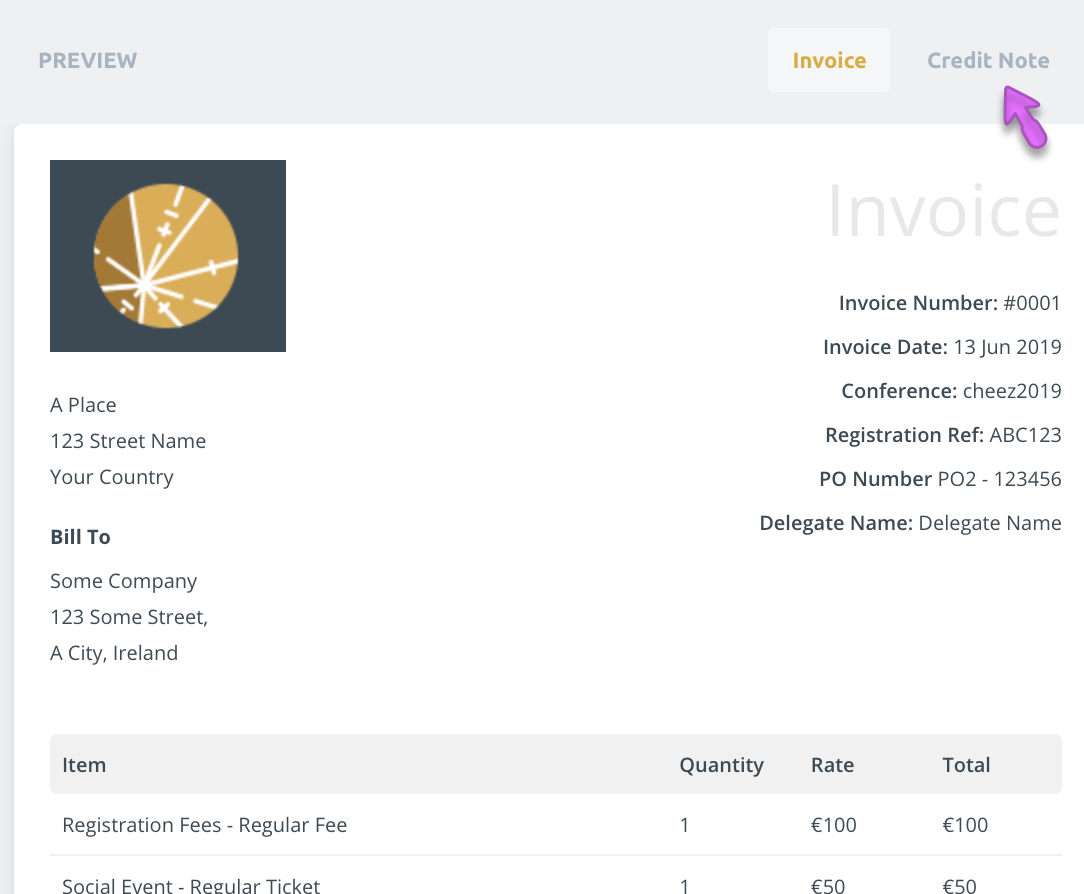
Beneath the invoicing switch you should see the invoicing options where you will be able to add your logo and billing address in addition to payment policy terms as well as invoice and credit note instructions. All of your changes will appear in the invoice preview on the right side of the screen as you save them.
You can also preview the changes made to your credit notes by switching between the Invoice and Credit Note preview modes by clicking the tabs on the top right side of the preview.

Now you're ready to issue PDF invoices and credit notes! You can even customise your invoice to include your logo and/or payment instructions.
